OpenOffice: crea una sequenza temporale - come funziona
In questa guida, spieghiamo passo per passo come creare una sequenza temporale in OpenOffice.
Crea timeline in OpenOffice Draw
È possibile inserire una sequenza temporale in OpenOffice Draw e quindi in OpenOffice Writer:
- Apri una nuova pagina in OpenOffice Draw.
- Quindi fare clic sul pulsante freccia e trascinare una freccia lunga da sinistra a destra nel documento.
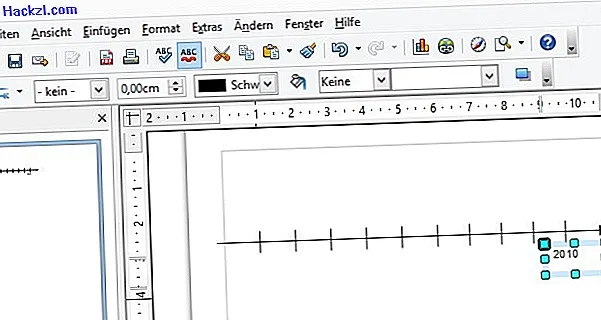
- Successivamente, è necessario inserire singole sezioni nella sequenza temporale. Funziona con il pulsante linea.
- Inserisci prima una linea sulla sequenza temporale, quindi copiala con la combinazione di tasti [Ctrl] + [C].
- Con [Ctrl] + [V] puoi inserire la linea tutte le volte che vuoi e posizionarla esattamente con i tasti freccia.
- Con il pulsante "T" è possibile aggiungere facoltativamente un testo, ad esempio anni per le sezioni della sequenza temporale.
- Ora puoi salvare la sequenza temporale finita come file PNG tramite "File"> "Esporta".
- In OpenOffice Writer, fai clic su "Inserisci"> "Immagine"> "Da file" e seleziona la sequenza temporale appena creata.